Run MySQL Server Using Docker On A Remote Machine
Running a MySQL server on a remote machine using Docker streamlines database management and simplifies deployment. In this guide, we’ll walk you through setting up a remote MySQL server with Docker, providing step-by-step instructions to get your environment up and running smoothly. Perfect for developers and admins looking to leverage the flexibility of Docker on remote servers!
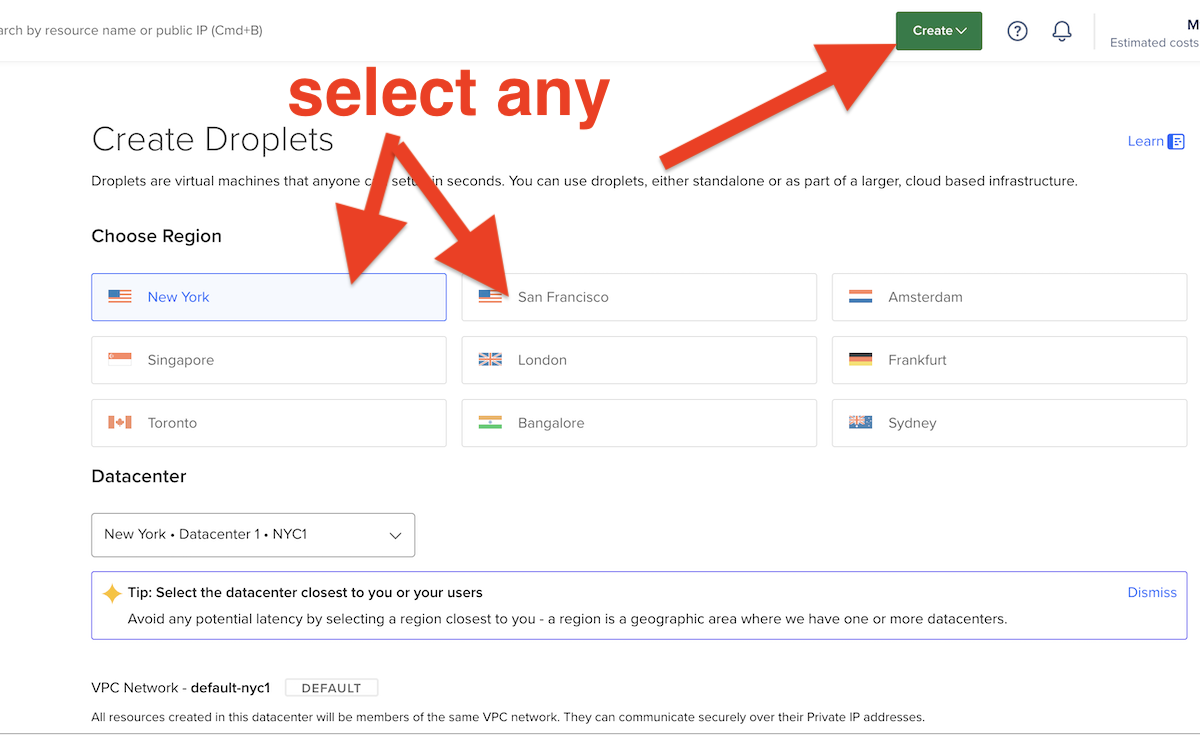
Step 1: Get a Server You Can Access Remotely
In this tutorial, I will get one from DigitalOcean. You can use this referral link to get a 2-month free server.
You can get a server (VPS - Virtual Private Server) from any provider of your choice.
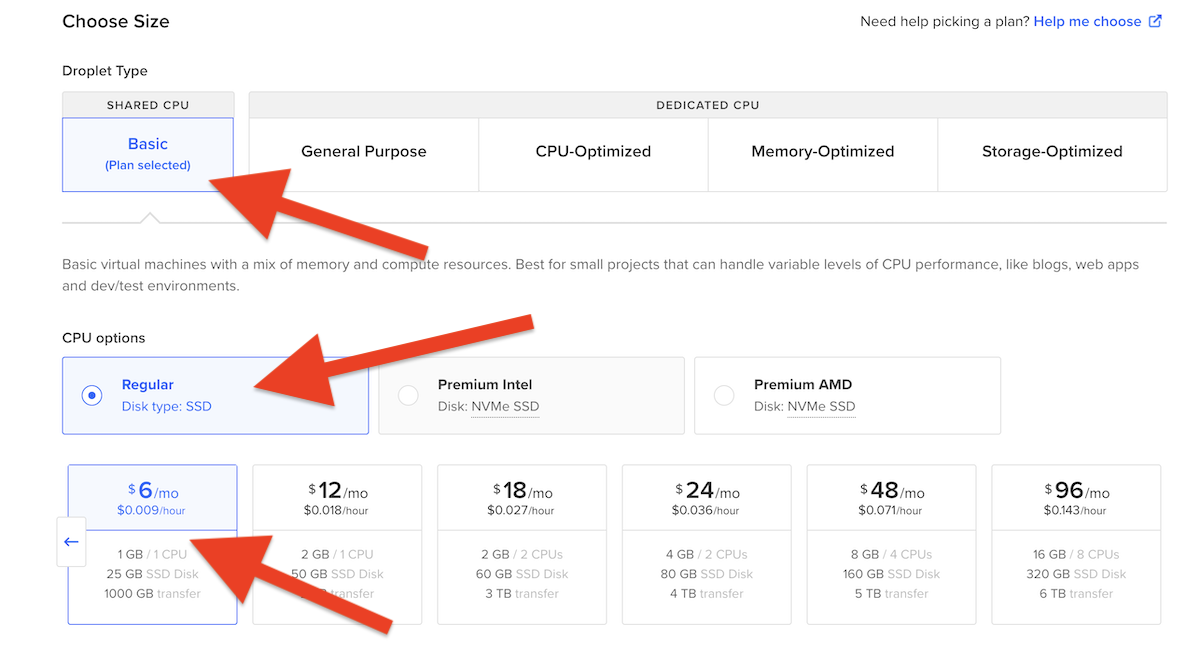
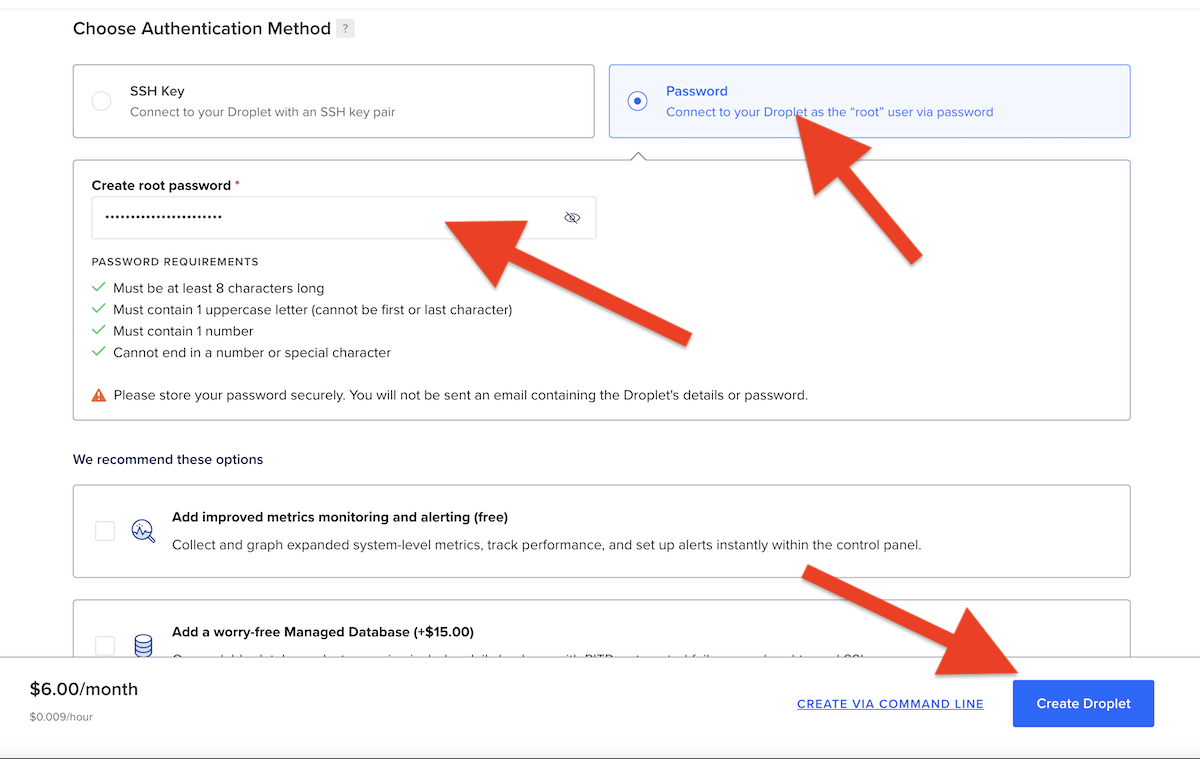
Create the droplet with the following specifications:
- Operating System: Ubuntu
- Authentication: Password or SSH
- Plan: The cheapest one, most likely $6/month

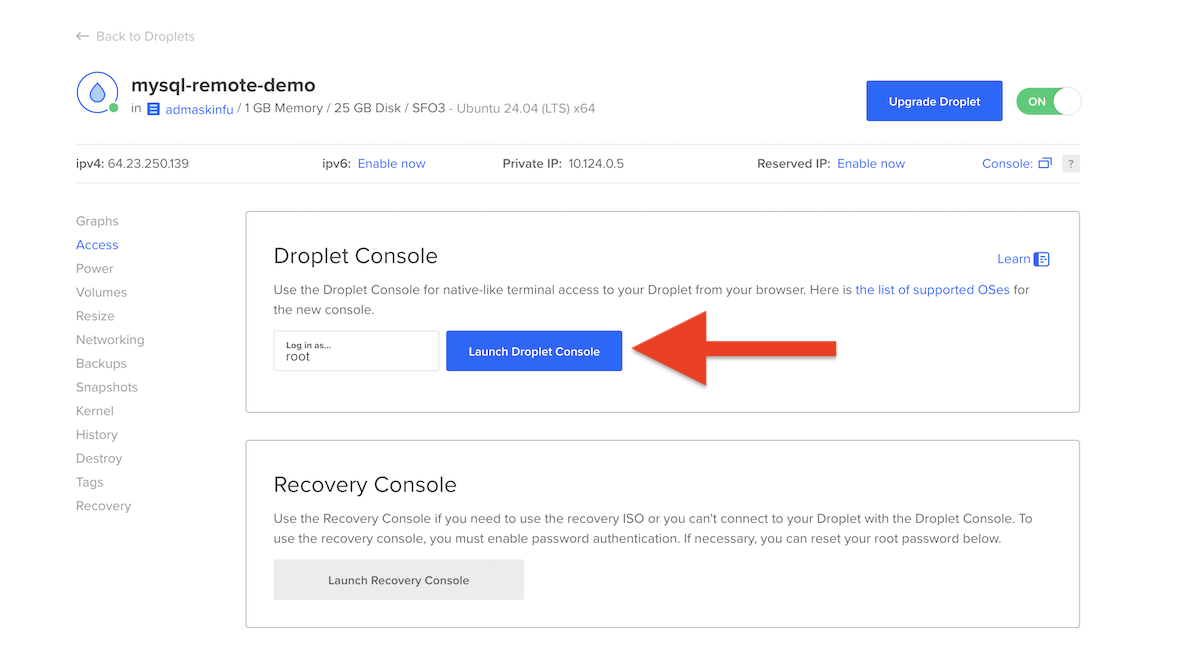
Step 2: SSH Into the Droplet or Use the Console in the Browser to Connect to It
Once your droplet is created, you can SSH into it using the terminal:
Open your "Terminal" or "CMD"/"PowerShell" and ssh into the remote machine.
ssh root@your_droplet_ip
Alternatively, you can use the console provided in the Digital Ocean browser interface to connect to your server.

Step 3: Install Docker
Run the following commands to install Docker on your server:
apt-get update
apt-get install -y docker.io
Run the following commands to verify Docker is installed.
docker --version Step 4: Run the Command to Run the MySQL Container
Use the following command to run the MySQL container:
docker run --name mysql-demo -e MYSQL_ROOT_PASSWORD=SuperSecretForRoot --restart always -p 3307:3306 -d mysql:8.0
Explanation of the command:
- --name mysql-demo: Names the container 'mysql-demo'.
- -e MYSQL_ROOT_PASSWORD=SuperSecretForRoot: Sets the root password for MySQL. IMPORTANT: Replace this password with your own choice.
- --restart always: Ensures the container restarts automatically if it stops.
- -p 3307:3306: Maps port 3307 on your host to port 3306 in the container.
- -d mysql:8.0: Runs the container in detached mode using MySQL version 8.0.

Verify the container is running and the container is accessible with port 3307

Step 5: Open MySQL Workbench
If you do not have MySQL Workbench installed, you can download it from here.
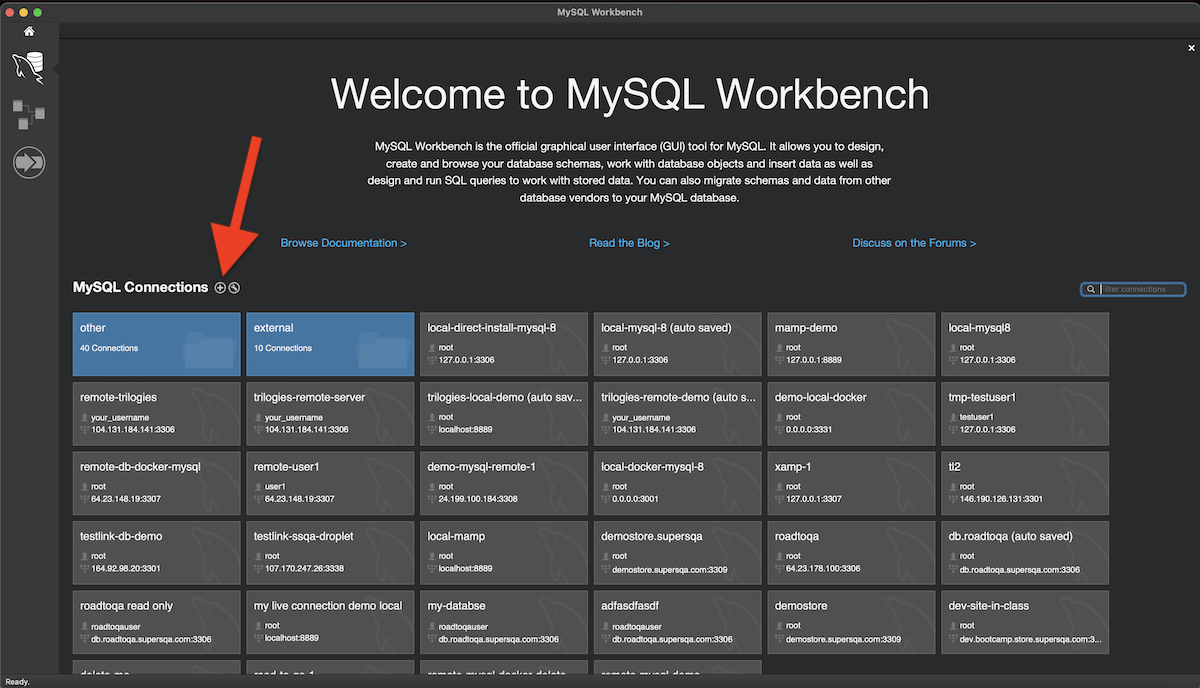
Step 6: Create a Connection in MySQL Workbench
Follow these steps to create a new connection:
- Open MySQL Workbench.
- Click on + Add New Connection.
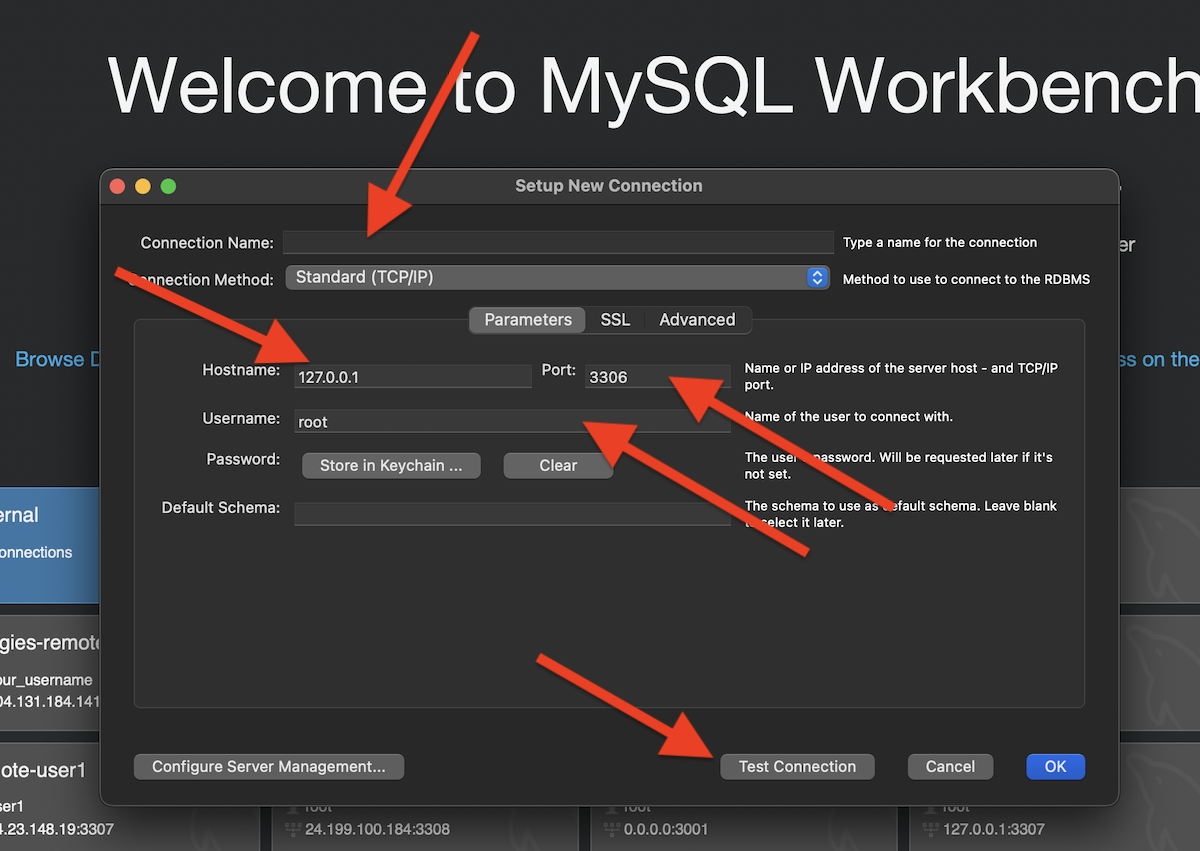
- Enter the following details:
- Connection Name: MySQL Docker
- Hostname: Your Droplet IP
- Port: 3307
- Username: root
- Password: SuperSecretForRoot (Replace with the password you used to run the container)
- Click Test Connection to ensure the details are correct.
- Click OK to save the connection.
Additional Information
How to Restart the Container If You Cannot Access the MySQL Server or It Is Stuck
If you need to restart the MySQL container, use the following commands: Assuming your container name is 'mysql-demo'
- To stop the container:
docker stop mysql-demo - To start the container:
docker start mysql-demo - To restart the container:
docker restart mysql-demo
(optional) Instructions to Create a Subdomain and Create an A-Record Pointing to This IP Address
This is if you like to use a subdomain like 'db.domain.com' to connect to your MySQL server instead of an IP address.
To create a subdomain and point it to your server's IP address, follow these steps:
- Log in to your domain registrar's website (e.g., GoDaddy, Namecheap).
- Navigate to the DNS management section.
- Add a new A-Record with the following details:
- Host: subdomain (e.g., mysql, so that you can have a site like mysql.mydomain.com)
- Points to: Your droplet's IP address
- TTL: Default or 3600 seconds
- Save the record and wait for the DNS propagation to complete (this can take up to 24 hours).
Using a Reverse Proxy (Nginx)
To set up Nginx as a reverse proxy for your MySQL server, follow these steps:
- Install Nginx on your server:
apt-get update apt-get install -y nginx - Create a new Nginx configuration file for your subdomain:
nano /etc/nginx/sites-available/mysql-proxy - Add the following configuration to the file:
server { listen 80; server_name subdomain.yourdomain.com; location / { proxy_pass http://127.0.0.1:3307; proxy_set_header Host $host; proxy_set_header X-Real-IP $remote_addr; proxy_set_header X-Forwarded-For $proxy_add_x_forwarded_for; proxy_set_header X-Forwarded-Proto $scheme; } } - Create a symlink to enable the configuration:
ln -s /etc/nginx/sites-available/mysql-proxy /etc/nginx/sites-enabled/ - Test the Nginx configuration and restart the service:
nginx -t
systemctl restart nginx
